

How To Draw A Bunny Step By Step
With the bunny's fluffy body and irresistibly cute face, it's no wonder that many kids of all ages are obsessed with bunny rabbits.
Bunnies have also long been a staple in several animated movies and series, among the most iconic characters are Bugs Bunny, Roger Rabbit, and Judy Hopps. The adorable features of bunnies are what make them interesting subjects to draw.
Fortunately, drawing a bunny is made easier with this step-by-step tutorial on how to draw a bunny, summarized in 9 easy and simple steps.
You can apply these steps whether you want to draw a realistic-looking bunny or an animated one. Each step is accompanied with comprehensible illustrations that serve as your visual guide as you follow the instructions.
Whether you are a novice or an expert in drawing, we're sure you can follow these basic steps effortlessly.
What's more—you can add your own style and improvise in every step. Mix and match colors to customize your bunny artwork and make it unique. Feel free to let your imagination wander and unleash your creativity!
Have fun and use your artistic skills!
What's in this Blog Post
- How to Draw a Bunny — Let's get started!
- Step 1
- Step 2 — Draw the Outline of the Bunny's Face
- Step 3 — Attach a Body and an Arm to the Bunny's Face
- Step 4 — Complete the Bunny's Body
- Step 5 — Draw the Bunny's Fluffy Tail
- Step 6 — Add Patterns to the Bunny's Body
- Step 7 — Next, Draw the Bunny's Nose
- Step 8 — Then, Draw the Bunny's Eyes
- Step 9 — Afterwards, Draw the Bunny's Mouth
- Your Bunny Drawing is Complete!
How to Draw a Bunny — Let's get started!
Step 1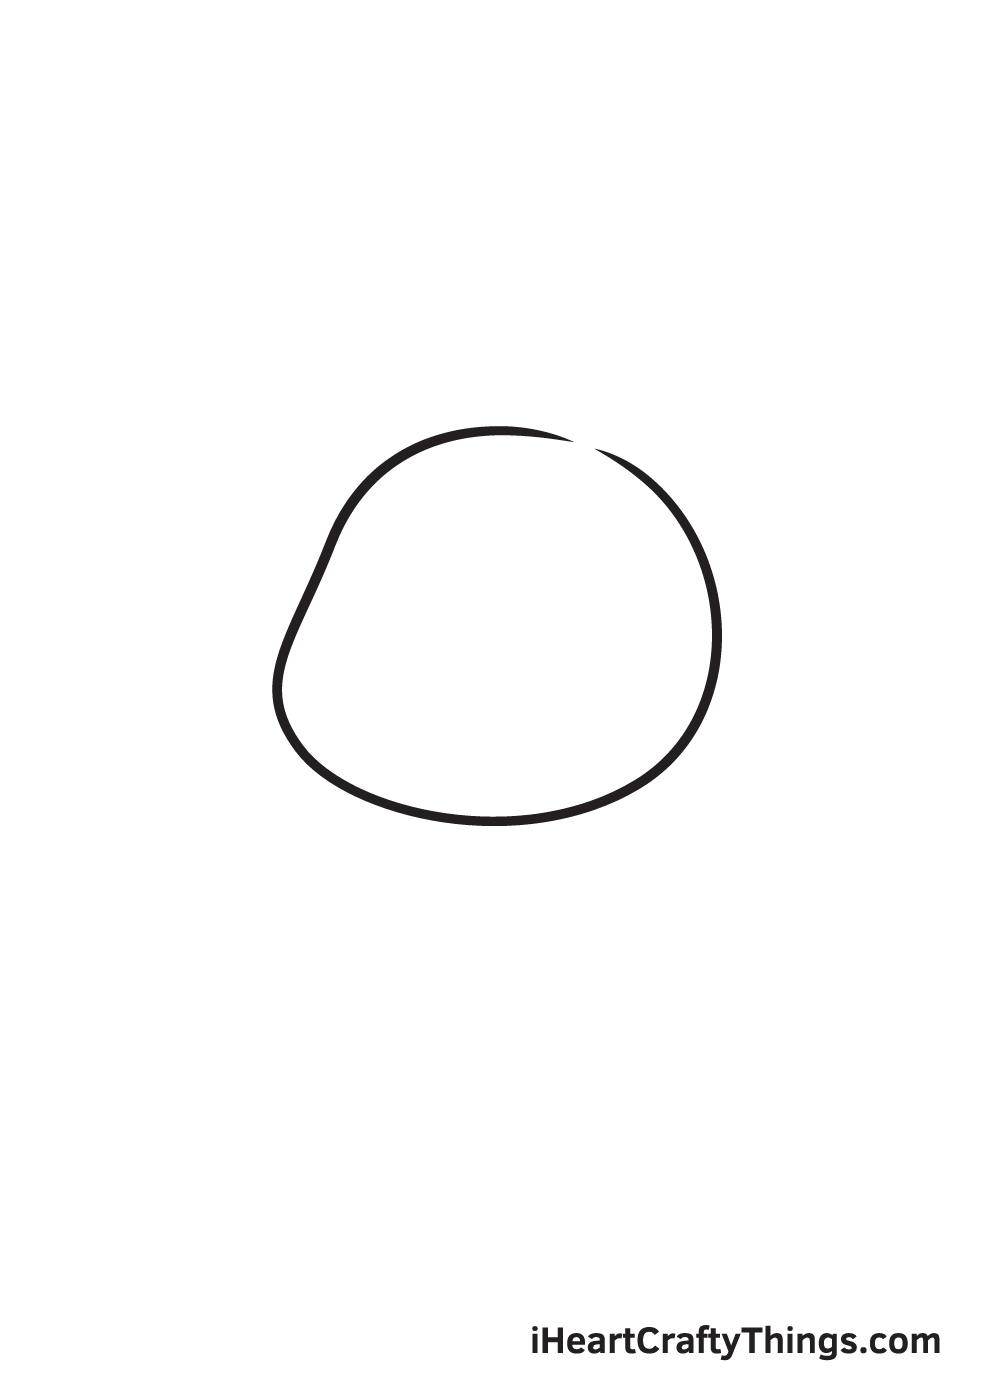
Start by sketching the outline of the bunny's face. Draw an irregular circle shape with the bottom part slightly wider than the top.
Bunnies naturally have chubby and fluffy cheeks. So, don't forget to put emphasis on the cheeks as you draw the outline of the bunny's face.
Here's a useful tip: draw a vertical line and a horizontal line across your paper to serve as a reference line to ensure that the bunny's face will be drawn in the very middle.
Step 2 — Draw the Outline of the Bunny's Face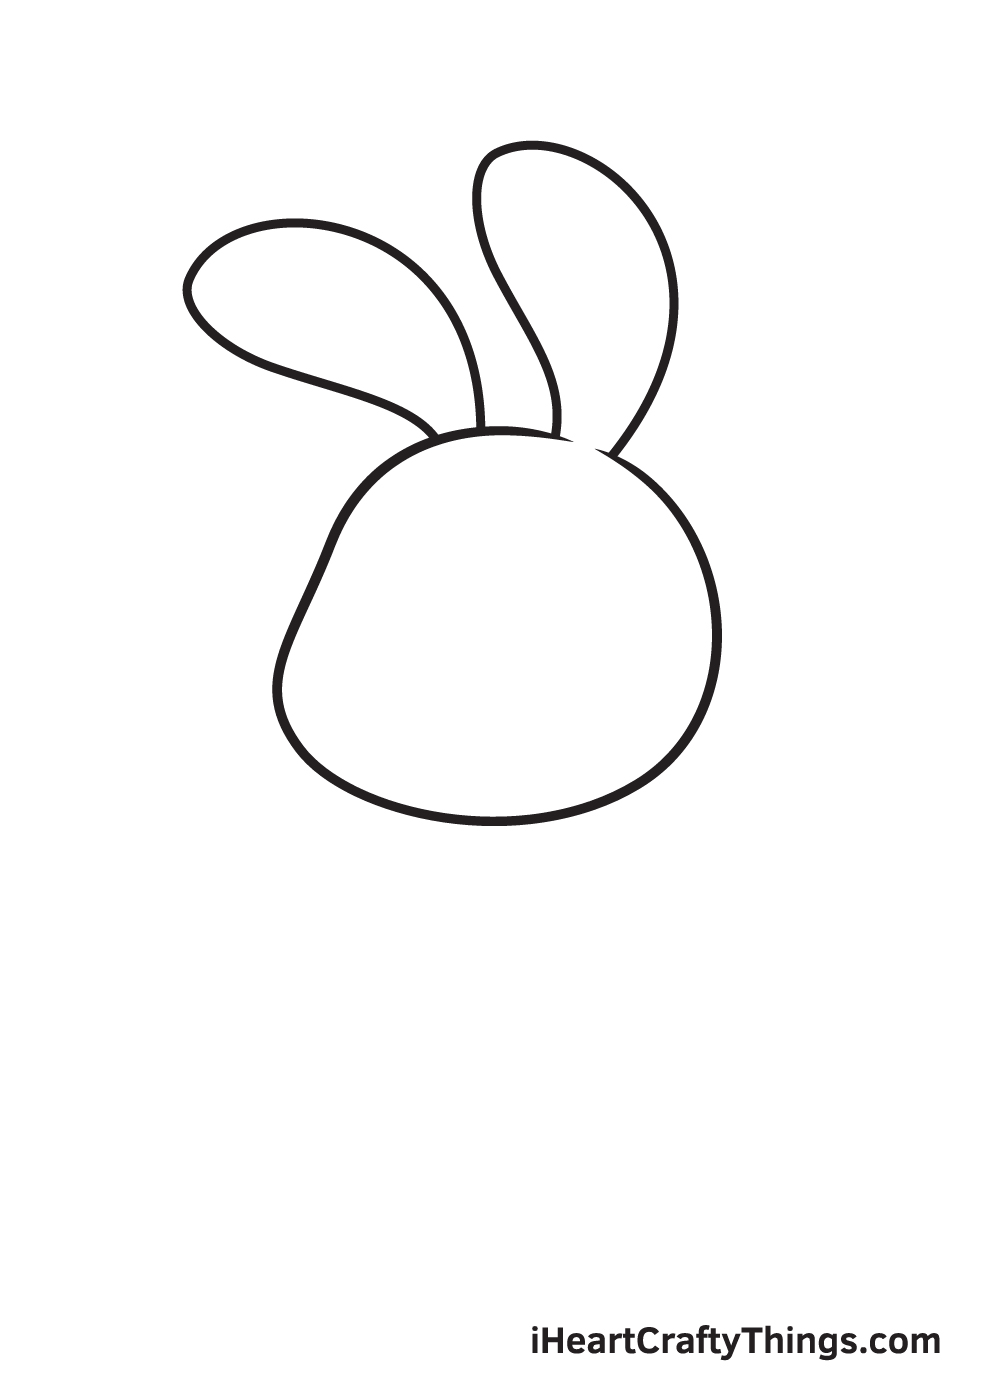
At the top of the bunny's face, draw a pair of ears on each side of the face. The ears of the bunny pretty much look like an upside down letter "U".
The bottom part of the ear connected to the bunny's face should be narrow, while the middle part of the ear should be the widest, as shown in the illustration.
Bunnies are known for their distinctively large ears. So, make sure to make your bunny's ears enormous to make it more realistic! Also, try to make the ears the same size as much as possible.
Step 3 — Attach a Body and an Arm to the Bunny's Face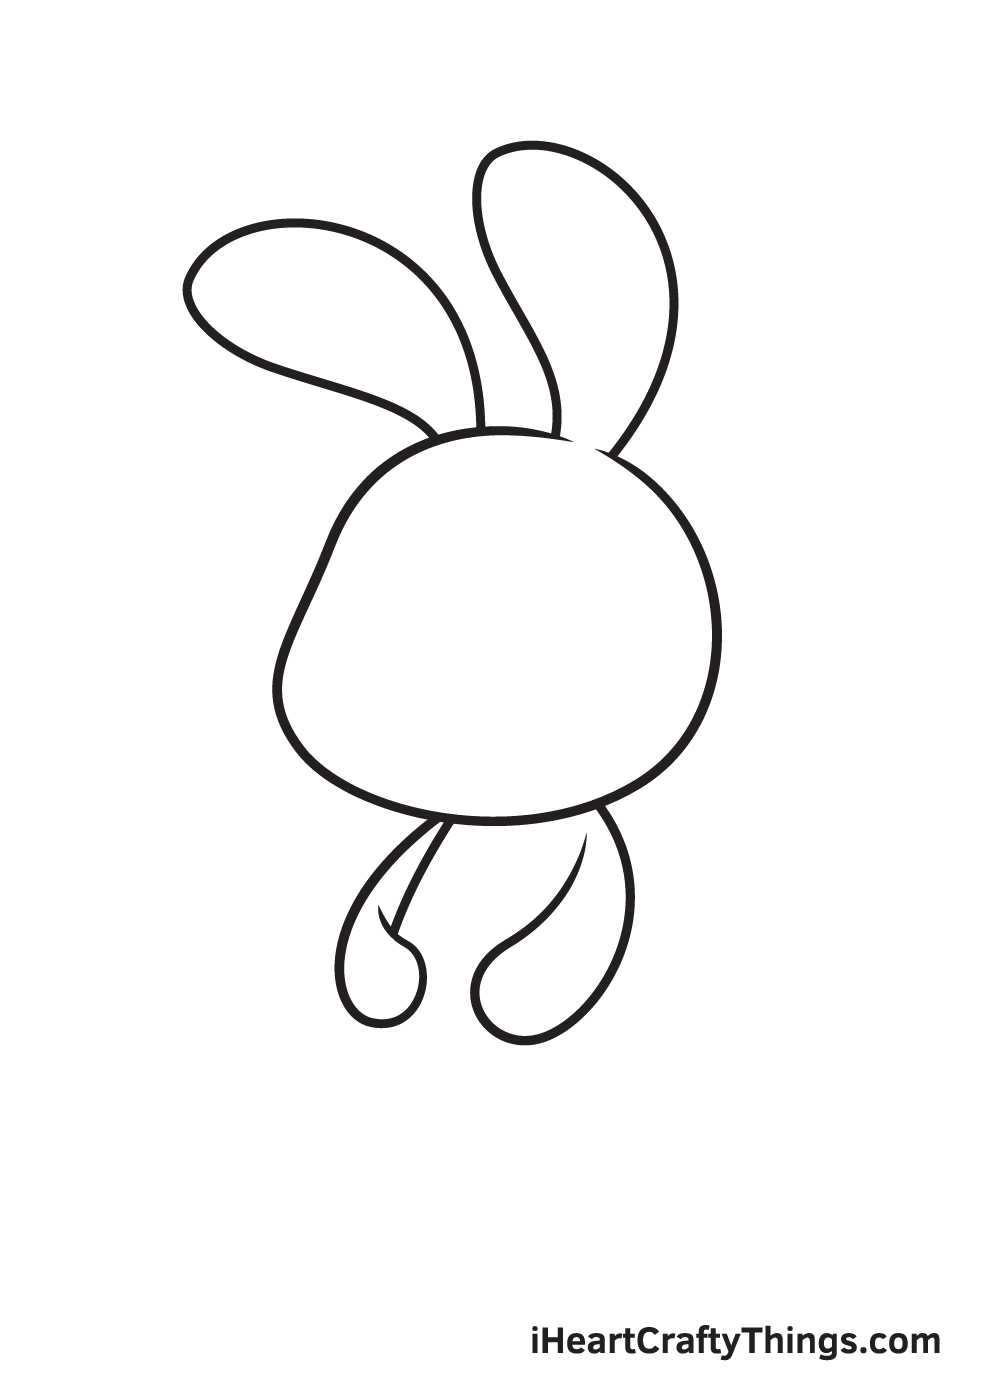
Now, that we have completed the outline of the bunny's face, it's time to draw the body.
Draw two curved lines right underneath the bunny's face. The arms' shape should be like a smaller version of the bunny's ears we have drawn in the previous step.
In this illustration, you can see that the bunny's arms are actually placed in the front of its body. However , you can position the bunny's arms any way you want. You can draw the arms positioned on the sides of its body, or even raised upwards.
Step 4 — Complete the Bunny's Body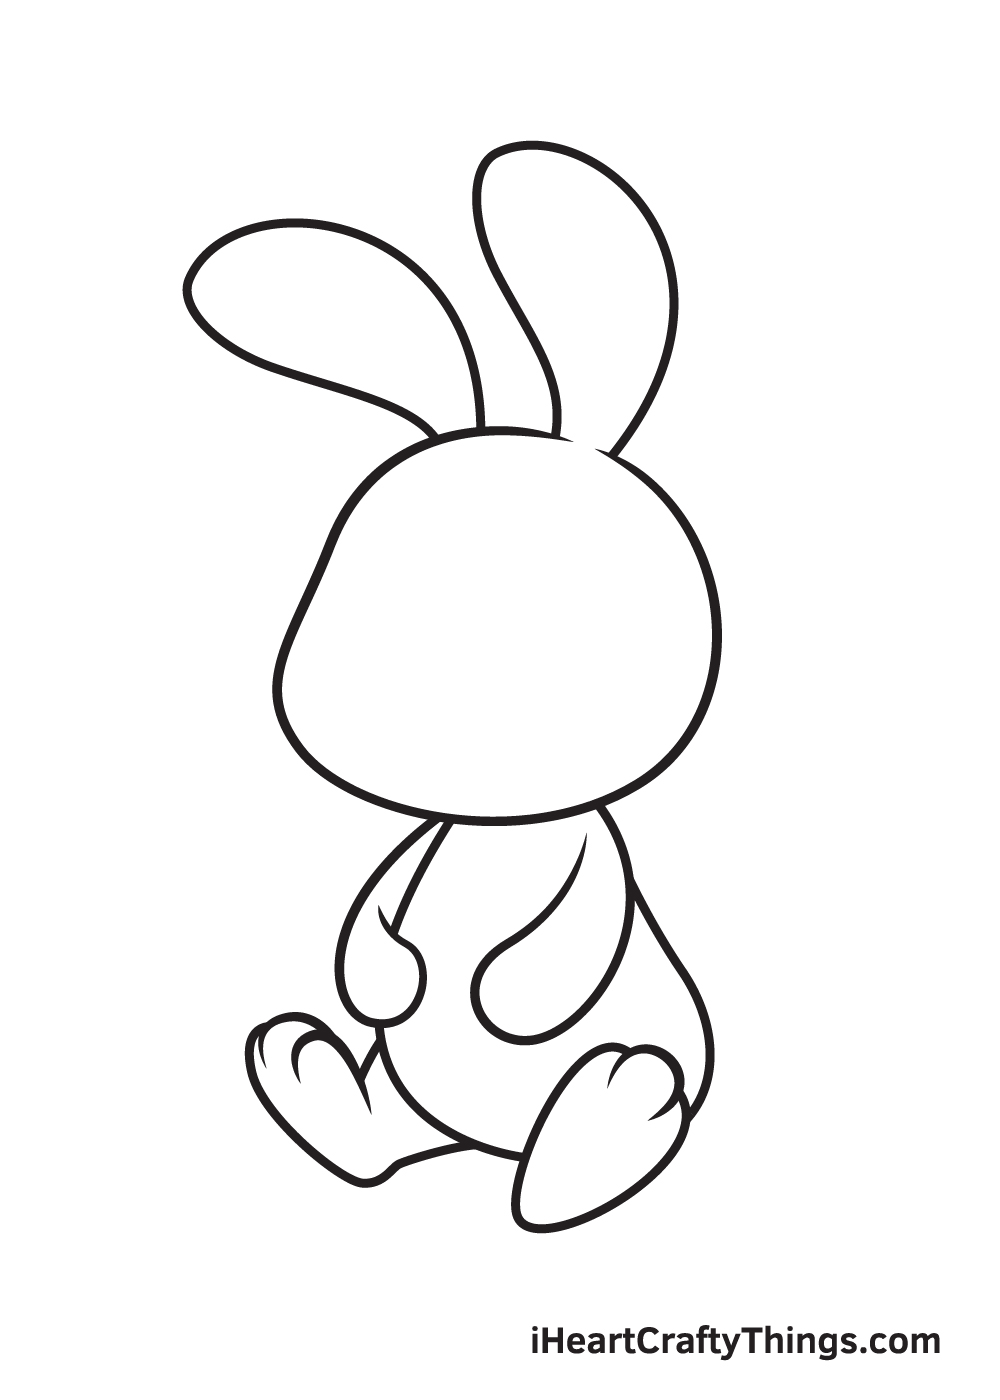
Afterwards, it's time to draw the entire bunny's body!
Using the previous step as a guide, extend the lines to create a full body. Then, draw a pair of feet with three toes each on both sides of the bunny's body. One feet should be facing straight ahead, while the other one is facing sideways.
Keep in mind to make the body chubby to create an extremely adorable bunny!
Step 5 — Draw the Bunny's Fluffy Tail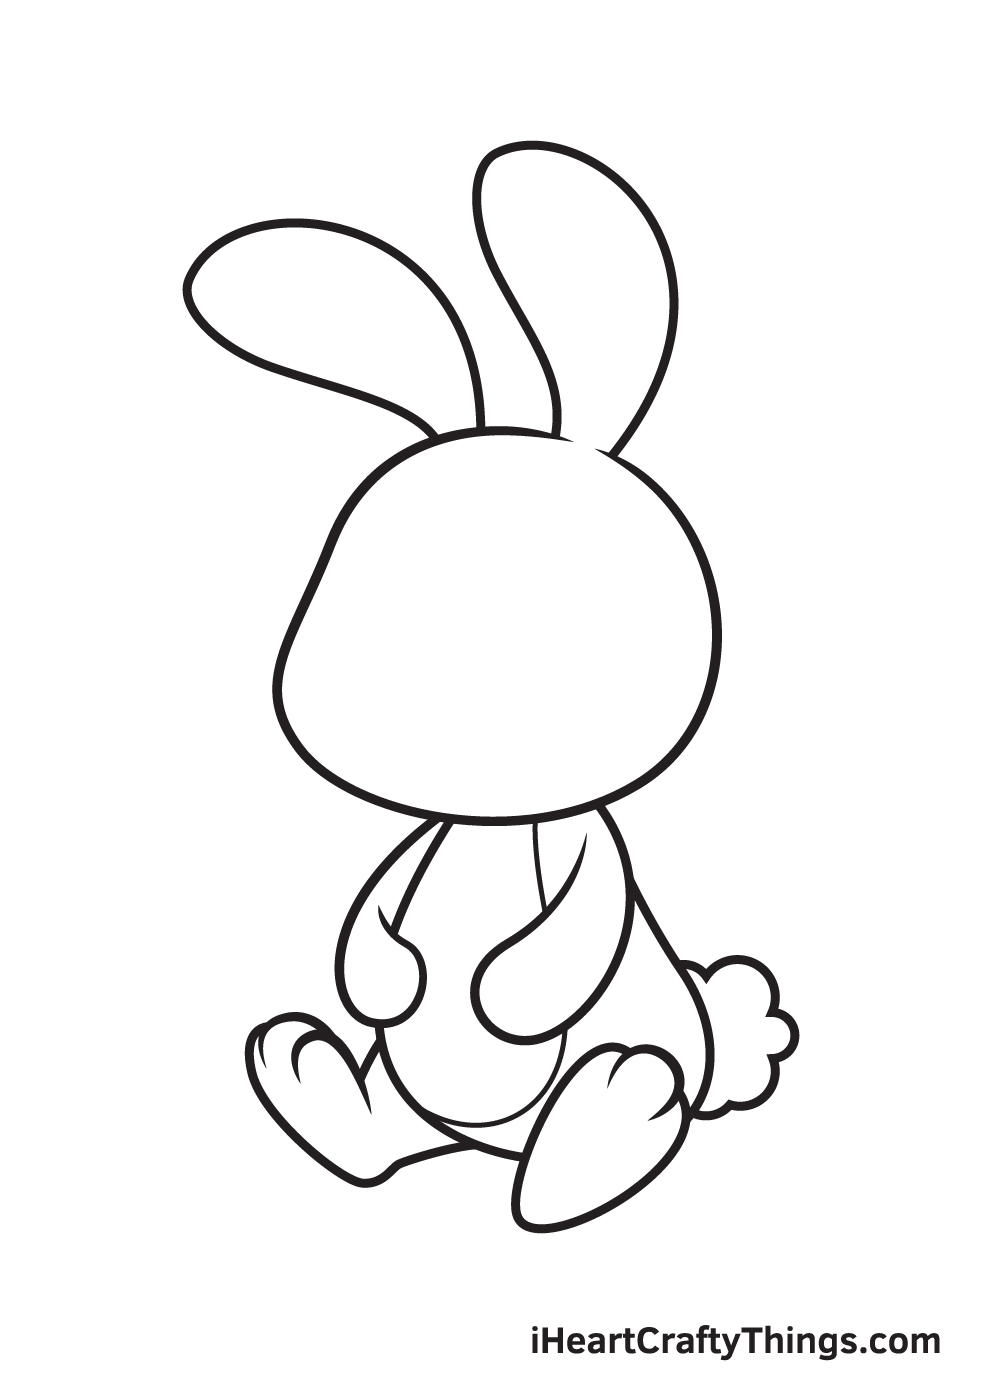
One of the most adorable features of a bunny is definitely its tail. And in this step, we'll draw the bunny's furry tail!
On the bottom part of the bunny's back, draw multiple curved shapes connected together. When drawn correctly, it should look like a fluffy cotton ball. Remember, the tail is positioned at the bottom of the bunny, so it should be only visible halfway through.
Step 6 — Add Patterns to the Bunny's Body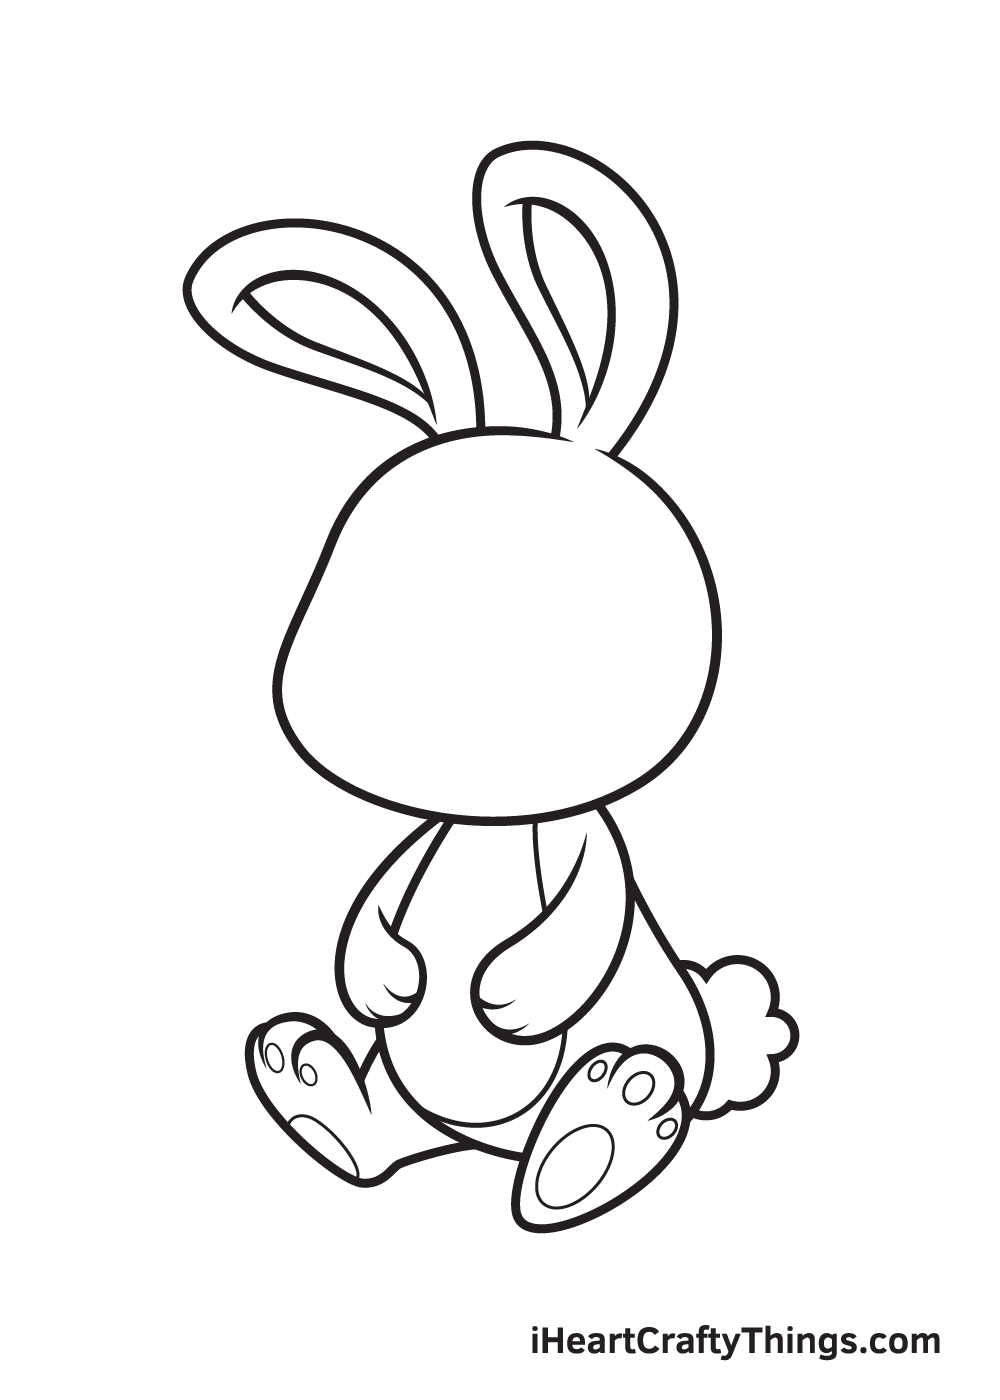
Now, it's time to add the intricate details on the bunny's body to make it look more realistic.
Let's start by adding patterns within the bunny's ears. Using the outline of the bunny's ears that we've drawn in the second step as a guide, draw a smaller outline inside each of the bunny's ears.
Remember, the second outline must be a bit smaller than the first outline of the bunny's ears. This will make the bunny's ears appear more realistic.
Step 7 — Next, Draw the Bunny's Nose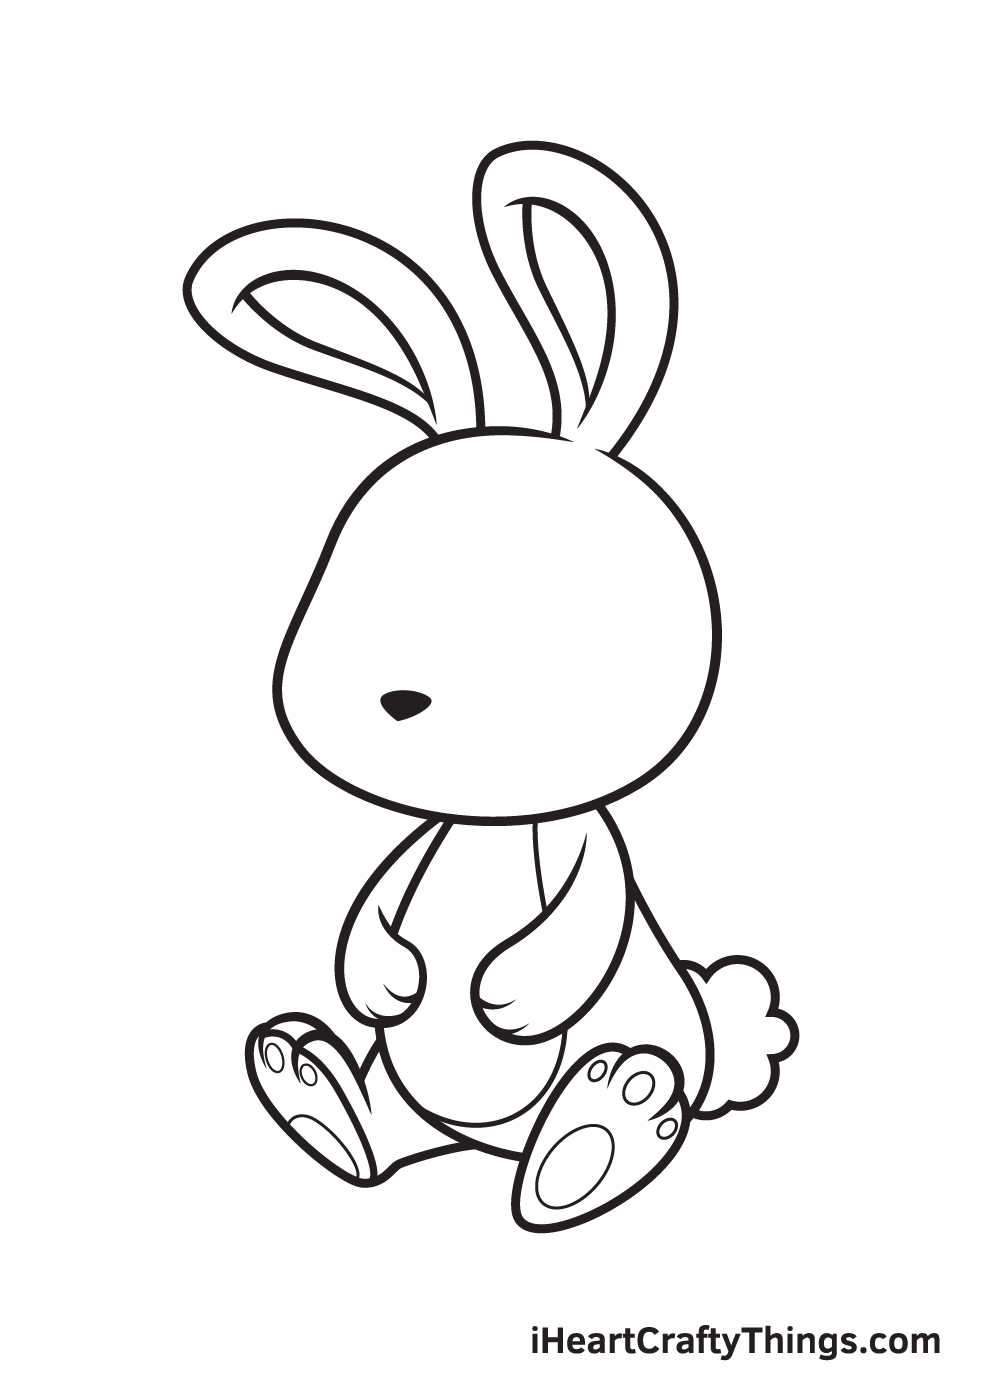
Draw an upside down triangular shape in the middle of the bottom part of the bunny's face. It should be positioned far from the forehead and near the chin.
In order to ensure that the nose will be drawn proportionally, draw reference lines across the bunny's face to pinpoint the perfect spot for the nose.
Step 8 — Then, Draw the Bunny's Eyes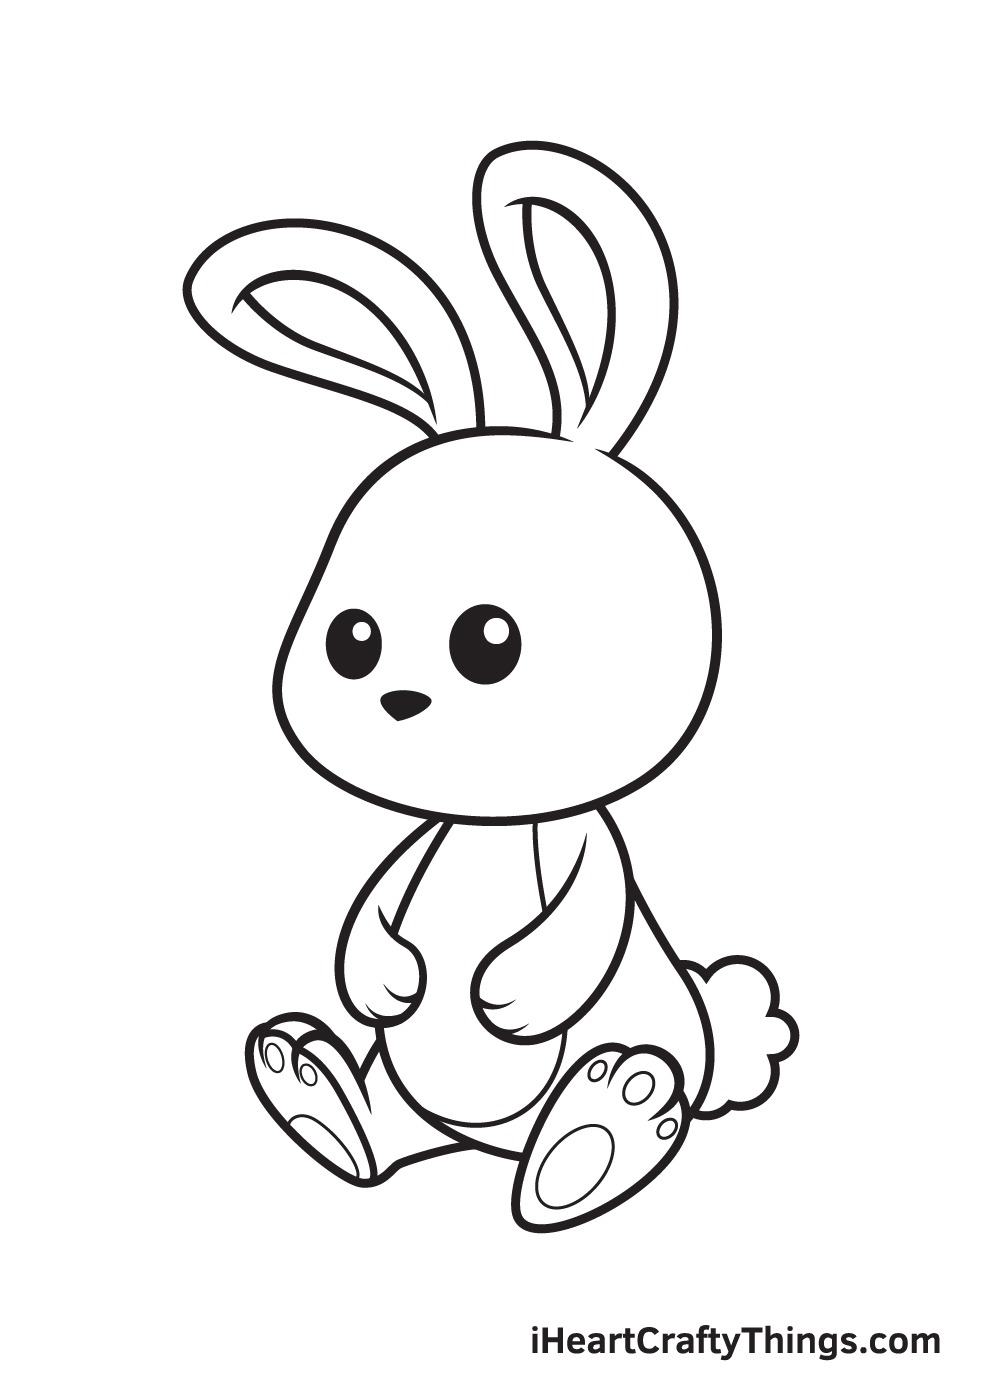
Draw two big circles above the bunny's nose. Afterwards, draw another two circles within the eyes. Afterwards, shade the eyes to complete the look.
Don't forget to leave out the tiny circle inside the eyes unshaded to create the illusion of "gleaming eyes".
To make sure the eyes are aligned and even, make sure that the nose is positioned below and right in between the eyes.
Step 9 — Afterwards, Draw the Bunny's Mouth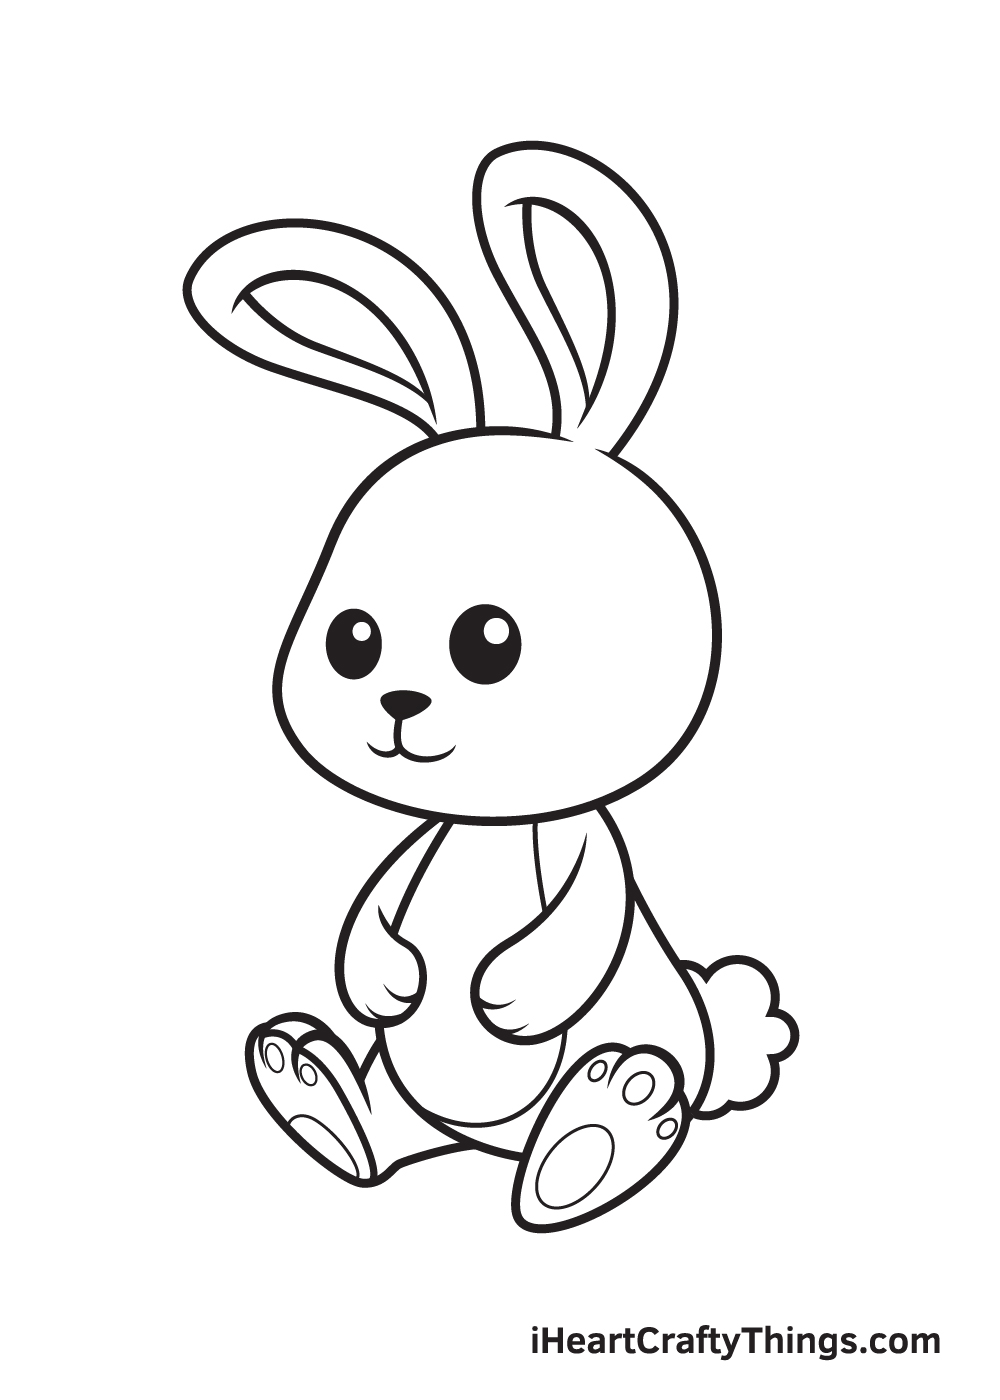
Right underneath the nose, draw a small vertical line. From the tip of the vertical line, draw two curved lines on either side. When drawn correctly, it should look like a curvy letter "W".
Here, you can see the cupcake is nearly finished! The only thing it's missing is a dash of multiple colors to complete your bunny artwork!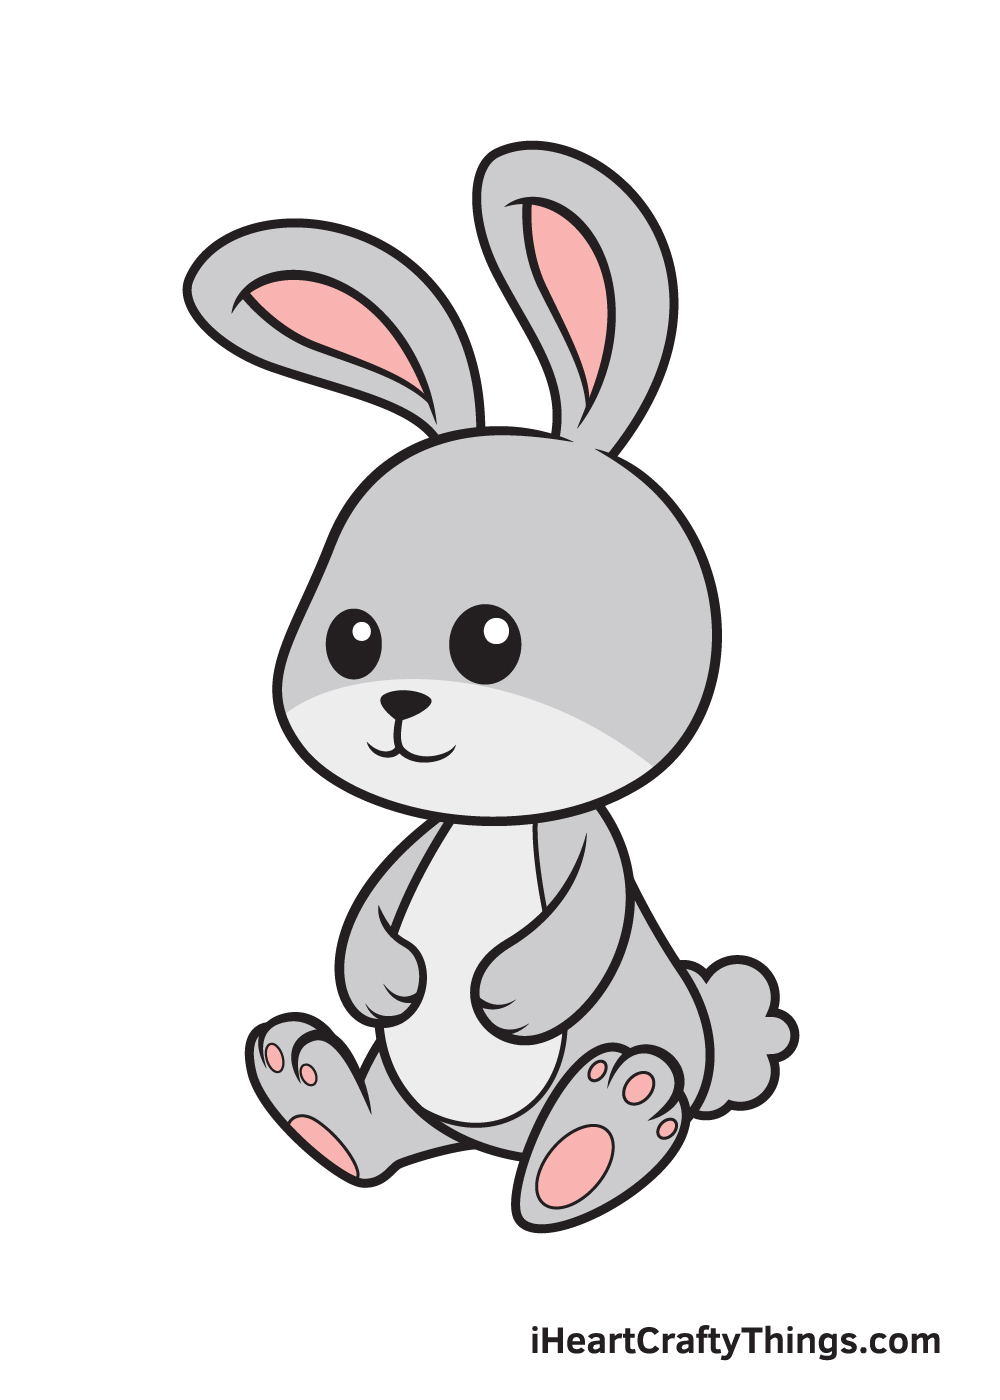
Finally, here is the most exciting part—filling in the colors for your awesome drawing! This is the part where you can show off your artistic skills and your ability to mix and match various colors.
Bunnies exist in a wide range of colors, with white, black, brown, cream, fawn, and gray being the most common. Some bunnies even have distinct patterns across their fur. This gives you a lot of color options to choose from when coloring your bunny drawing.
Don't be afraid to experiment with different colors. After all, it's your work of art! Remember, the sky's the limit to your imagination!
Your Bunny Drawing is Complete!
We hope you enjoy this step-by-step tutorial on how to draw a bunny. With this guide, you can surely draw and color a bunny along with its complex features and elaborate details in no time.
And the most fun part is, you can customize its physical features and play with various colors as much as you like! And while you're at it, why not try using different coloring tools as well?
Once you've finished your masterpiece, we're certain you must be feeling very proud of yourself—as you should be! Completing this bunny drawing is definitely fulfilling.
Make sure to show off your work of art and share it on our Facebook page and on Pinterest. We're sure it looks amazing!
We can't wait to see your colorful and intricate bunny drawing!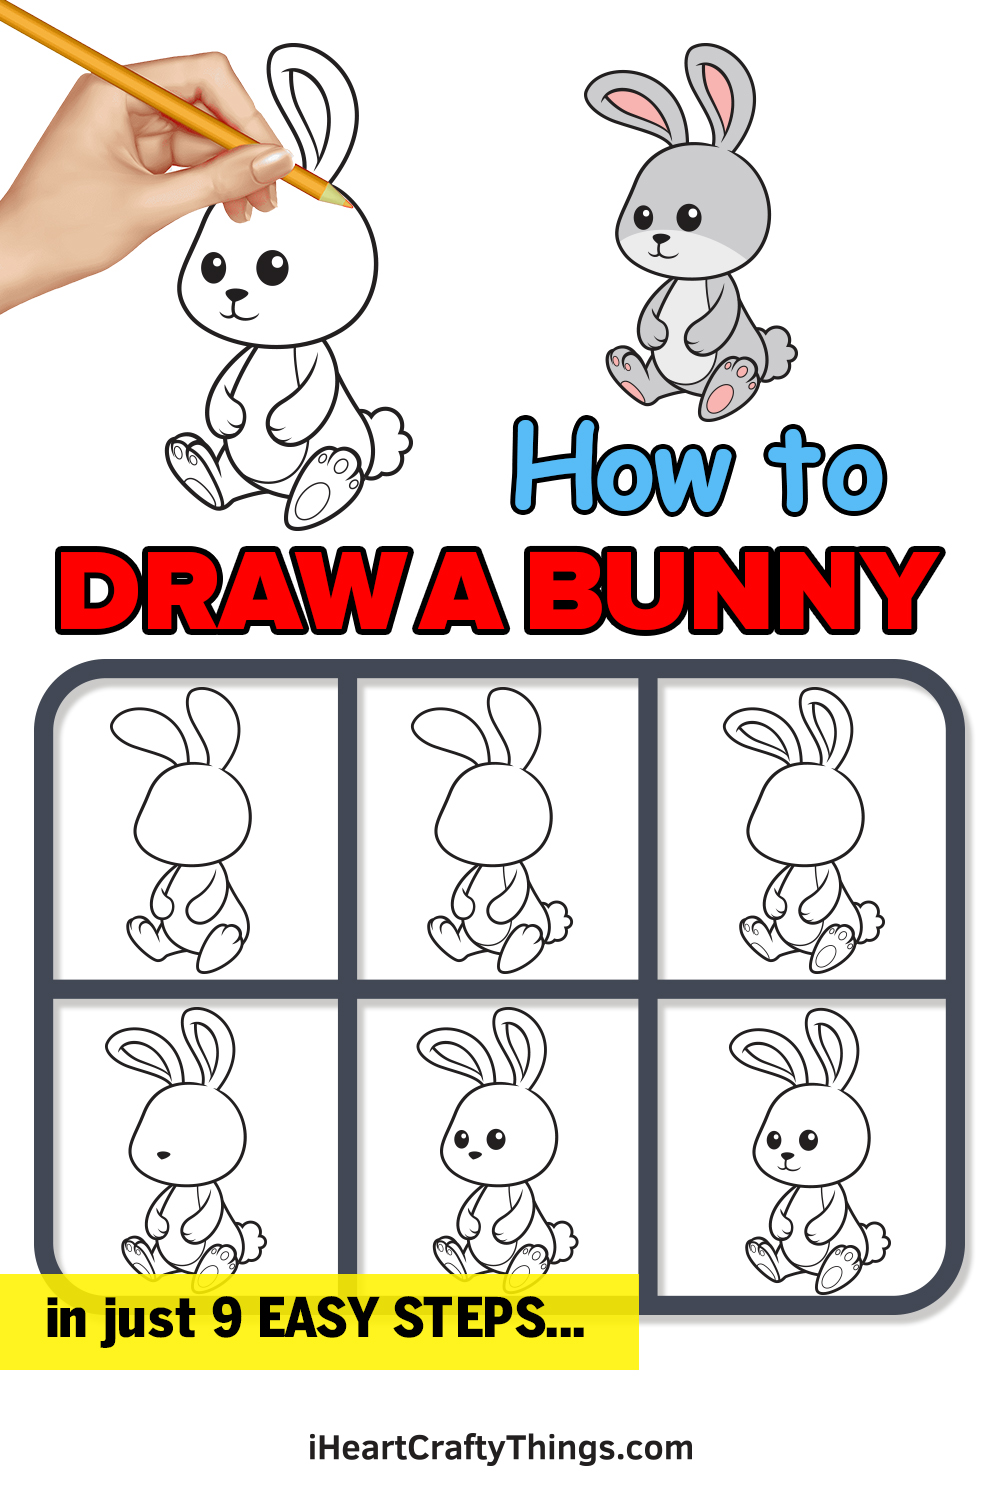
How To Draw A Bunny Step By Step
Source: https://iheartcraftythings.com/bunny-drawing.html
Posted by: belltrainge.blogspot.com
0 Response to "How To Draw A Bunny Step By Step"
Post a Comment